Adding a Product to Your Store
This tutorial will walk through the typical process a store administrator will use to create a new product.
For this example, we will be adding the following product to our store:

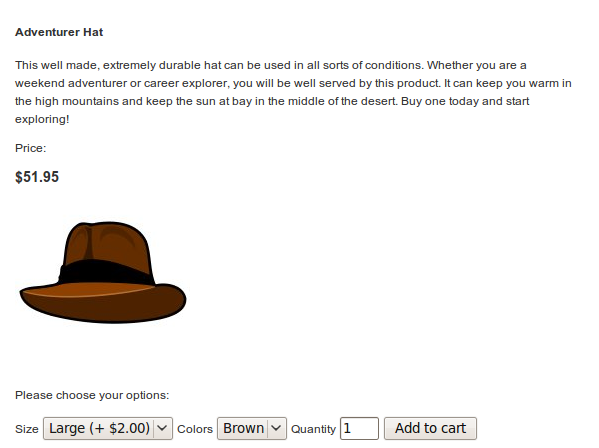
Full Name: Adventurer Hat
- Description:
- This well made, extremely durable hat can be used in all sorts of conditions. Whether you are a weekend adventurer or career explorer, you will be well served by this product. It can keep you warm in the high mountains and keep the sun at bay in the middle of the desert. Buy one today and start exploring!
Sizes: Small, Medium, Large
Colors: Black, Brown, White
Price: $49.95
Steps
Setup product types
Verify that the necessary module product.modules.configurable is enabled in INSTALLED_APPS which is satisfied by default.
Create the Product
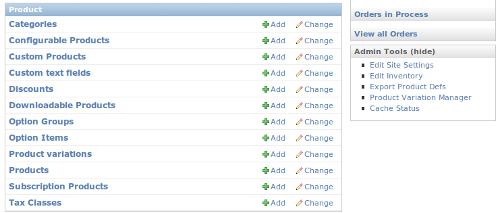
From the main admin screen, under the Product section, click the “Add” icon next to “Products”.
The main product screen will now be shown. There are multiple fields available to customize the product. We will fill in some of the most important.
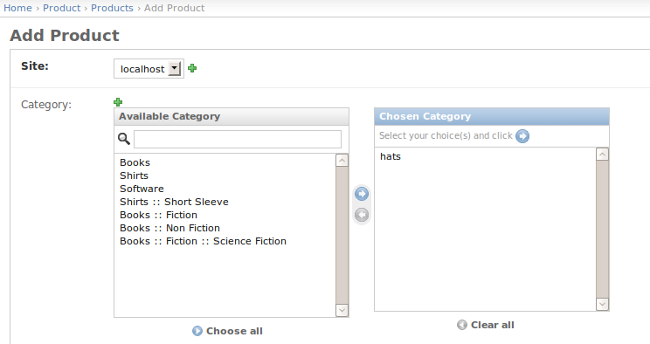
If you do not already have a “hats” category in place, create one by clicking on the green plus icon above categories. Once it is selected, you should see a screen like this:
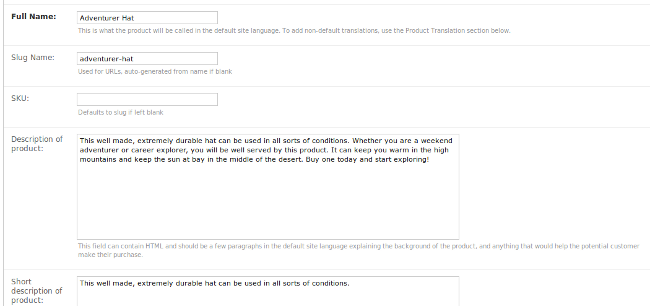
Now, create the description for the product. The sku and slug fields can be left blank and will be automatically populated with values:
Satchmo allows you to track inventory of your products, feature certain products and set whether or not the products are shippable. You may configure these items in the next section of the Product page.
Additionally, you have the option to configure the Meta options (used for Search Engine Optimization), dimensions and tax properties. Depending on your product and store location you may or may not need to set these items. For this example, we will use the default values.

All products will need a price and an image. You can configure volume discounts if you like, but for this example, we will set the hat’s price to $49.95. We will also upload the image.
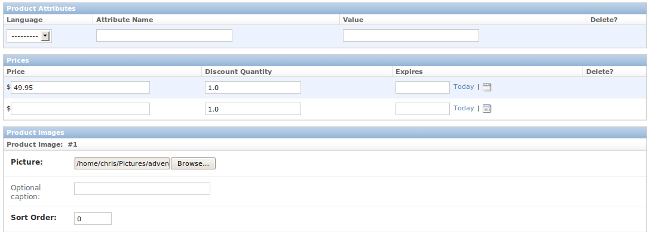
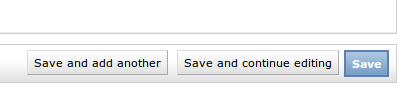
Once all off the product’s information has been entered, you may save it.
At this point, you have created the Adventurer’s hat but have not created the various size and color combinations you would like to offer. Instead of creating 9 new products (one for each combo), we can use Product Variations to make our lives a little bit easier.
Create the Option Groups
Going back to the main admin screen, click the “Add” Icon next to “Option Groups.”
In the option group screen, we will set up our “Hat Size” option group. In this example, we configure the sizes so that a Large hat will be $2.00 extra.
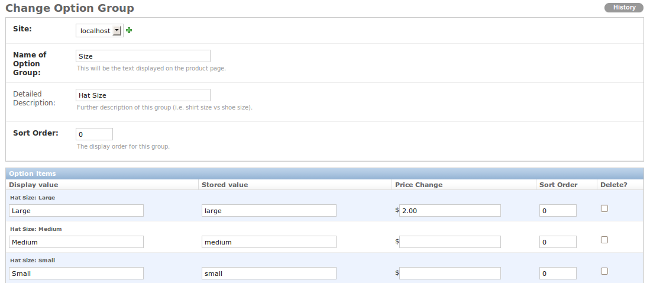
After the values, are entered, click save.
We will repeat the same process to create the hat colors options. Once they are both entered, you should see them in the admin interface.
Create The Product Variations
Now that we have our hat created and have the colors and sizes in place, we need to create hats with each color and size. To do this, we go back to our Product and configure it to use these options.
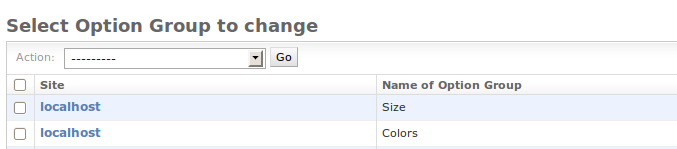
From the main admin screen, click on “Products.” You should have a list of all your store’s products:

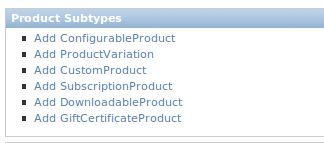
After displaying the Adventurer’s Hat, scroll to the bottom of the page where you can configure the subtypes associated with the hat. Click on “Add Configurable Product”:
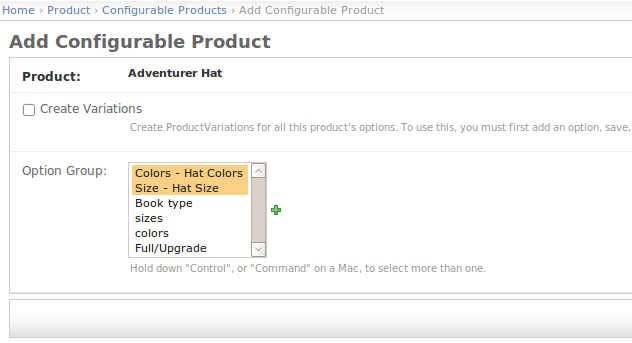
On the configurable product screen, highlight the “Hat Size” and “Hat Color” options and click “Save.”
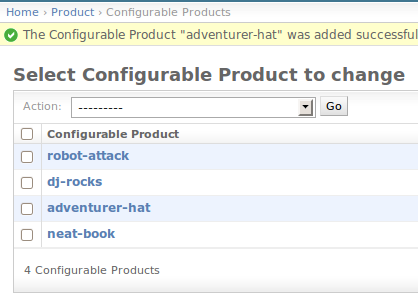
Select the “Adventurer Hat” configurable product:
From the screen, click on the “Create Variations” box and the click “Save” to associate the new variations with the Product.
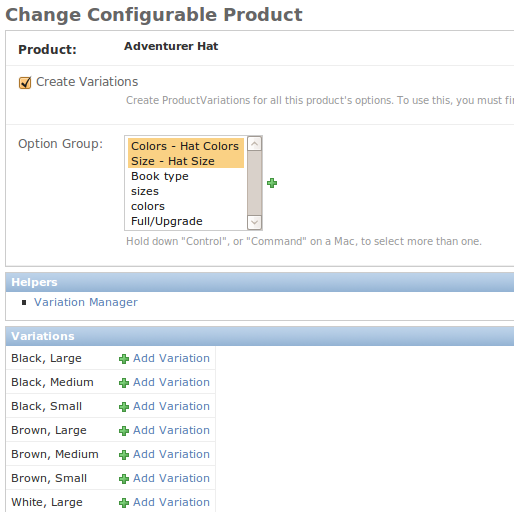
You have now created all 9 variations of this product!
View the Final Product
You can view your final product here - /product/adventure-hat/
In this example, note how the price automatically changes based on the options selected.